The Load Image node can be used to to load an image, processing it to adapt the workflow.
Introduction
This node can load an image, which can be uploaded by starting the file dialog or by dropping an image onto the node.
It handles image formats with multiple frames, applies necessary transformations such as rotation, normalizes pixel values. This node is essential for preparing images for further processing or analysis within a workflow.
Inputs
| Name | Explanation |
|---|---|
image |
The image file that is uploaded. |
Outputs
| Name | Explanation |
|---|---|
image |
The processed image with pixel values normalized, ready for further analysis. |
mask |
The alpha channel of the image. |
mask
The mask output is particularly useful when dealing with images that contain transparency, such as PNGs.
It generates a mask where transparent areas are marked as 0 (white) and opaque areas as 1 (black). If the image lacks a transparent channel, a mask with all values set to 1 is generated, indicating full opacity. Mask has powerful functions, such as specifying the range of modifications allowed for an image.
| Mask Shape | result |
|---|---|
 |
 |
 |
 |
In the table, the distinction between transparent and non-transparent areas in mask significantly influences the content of the resulting images.
How to Use
Use as a Pixel Input
The Load Image node can be employed to load images for a multitude of nodes. In any given workflow, simply connect the Load Image node to any node that requires an image input, such as the AIO Aux Preprocessor node shown in the figure.
![]()
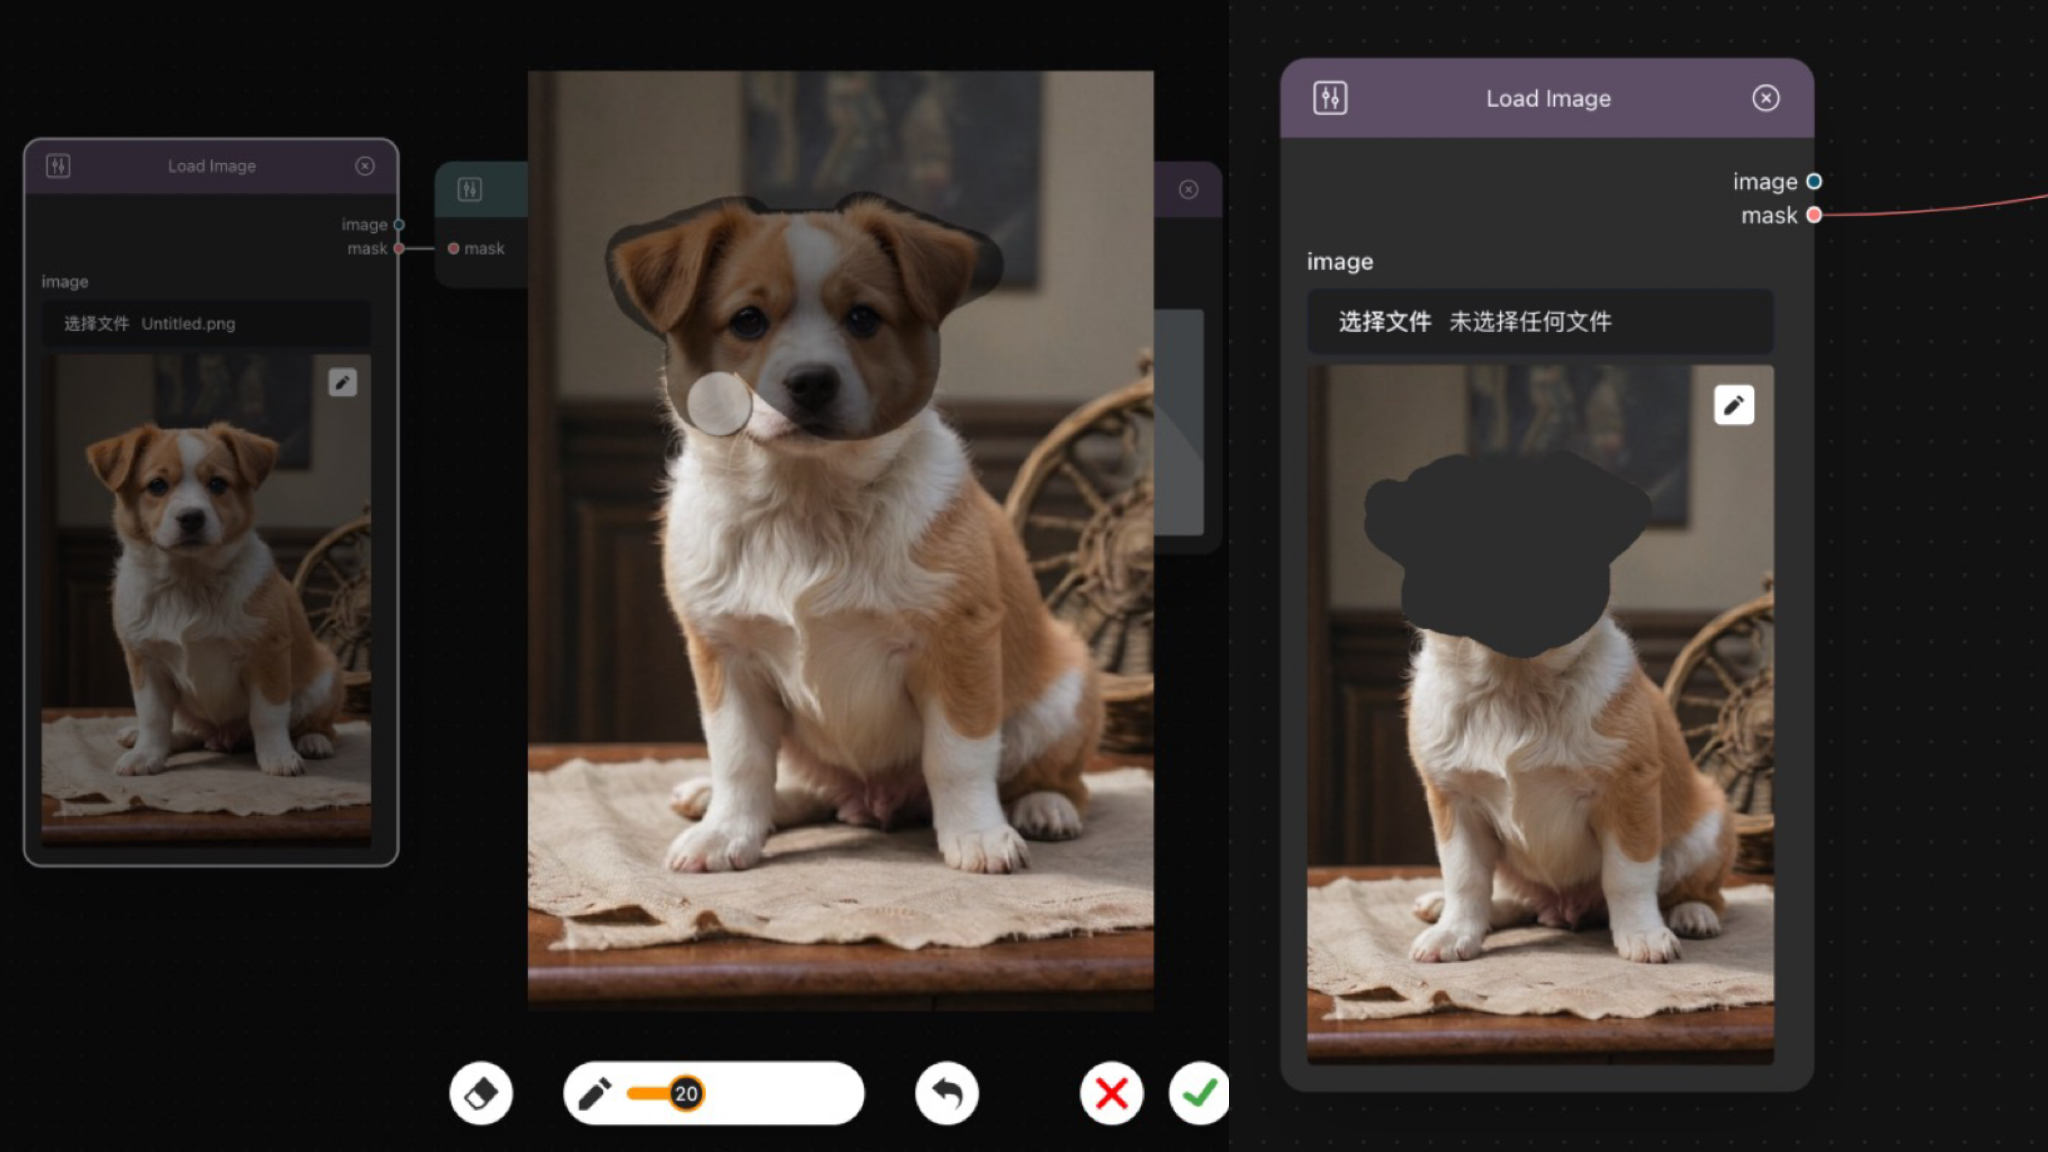
Mask Control
After loading the image, you can use the eraser in the edit button to adjust the transparency channel of the image, thereby changing the corresponding mask for the image. To obtain the mask, you can connect the mask output.